Fractures and Splints: How to Immobilize a Limb
Share
Bone fractures and joint injuries cause severe pain and increase the risk of complications if the affected limb is moved. Proper immobilization restricts the movement of bone fragments and protects surrounding tissues, blood vessels, and nerves from further injury. The first responder's task is to stabilize the injury and ensure safe waiting for medical help or transportation of the casualty.
Types of Fractures and Recognition
In the event of a limb injury, it is important to recognize the signs of a fracture in time and to distinguish an open fracture from a closed one. In any case of severe trauma, the first action is to call emergency services at 112 (or your local emergency number).
Main signs of a fracture:
- Pain and tenderness: Sharp pain at the injury site that worsens when trying to move or touch the limb.
- Deformity: Unnatural angle, shortening of the limb, or protruding bone.
- Swelling and bruising: Rapidly appearing tissue swelling and skin discoloration.
- Loss of function: The casualty cannot control or bear weight on the limb.
- Crepitus (grating sound): Sensation or sound of bones rubbing together. Do not intentionally check for this sign to avoid increasing damage.
In the case of an open fracture, there is a wound in the skin through which bone ends may be visible. In this situation, the priority is to stop the bleeding and cover the wound with a sterile dressing. Bone fragments must not be pushed back inside the wound.
Basic Principles of Immobilization
When performing immobilization, it is necessary to follow established rules to prevent additional pain or tissue damage:
- Two-joint rule: When immobilizing a long bone fracture (e.g., forearm or lower leg), it is essential to immobilize two joints—one above and one below the fracture site.
- Joint injury immobilization: If a joint is injured, two bones are immobilized—above and below the joint.
- Checking circulation and sensation: Before applying and securing the splint, check distal pulse, finger/toe color, temperature, and sensation. If fingers/toes turn blue or go numb after securing the splint, loosen the binding immediately.
- Positioning: Immobilize the limb in the position in which it was found. Gently realigning the limb is only permissible when distal pulse is completely absent and you possess appropriate training.
Commercial Splints and Their Application
Specially designed splints allow for quick and reliable limb stabilization. One of the most popular tools is the SAM splint. This combination of aluminum and foam is flexible when unrolled, but when folded longitudinally, it gains a rigid structure suitable for immobilizing an arm or leg.
For finger injuries, a smaller SAM® finger splint is used. Complex limb injuries are managed using a full "AlfaCharlie" splint set. To secure the splint to the limb, an elastic bandage 10 x 150 cm or a black triangular bandage (for arm sling) is used.
Features of Pelvic Fracture Stabilization
Pelvic bone fractures differ from limb injuries because they pose a direct threat to life due to internal bleeding. The pelvic region has an extensive network of blood vessels, so a damaged pelvic ring can cause massive blood loss into internal cavities.
When a pelvic injury is suspected following a fall from height or a motor vehicle accident, a specialized SAM® pelvic binder is used. It is wrapped around the hips at the level of the greater trochanters of the femurs and tightened to stabilize the bones. This binder must not be placed on the waist area, as it must sit precisely at hip joint level.
Improvised Immobilization Tools
If a commercial splint is not available, available materials and environmental items can be used for immobilization:
- Rigid objects: Tree branches, boards, umbrellas, folded magazines, or cardboard.
- Soft padding: Fabric, clothing, or a towel must be placed between the rigid object and the casualty's skin to prevent pressure sores.
- Anatomical splinting: An injured leg can be tied to the healthy leg, or an injured arm can be secured to the torso.
Comparison of Splints and Immobilization Methods
| Method / Tool | Purpose | Advantages | Limitations |
|---|---|---|---|
| SAM Splint | Wrist, forearm, lower leg immobilization | Flexible, lightweight, reusable | Not suitable for pelvic fractures |
| SAM Pelvic Binder | Pelvic ring stabilization | Stabilizes pelvis to help reduce internal bleeding | Requires precise height placement |
| Improvised tools (boards, branches) | Limb immobilization during hiking or outdoors | Accessible in any environment | Requires additional padding |
Practical Checklist: Limb Immobilization Steps
Follow this sequence of actions when applying a splint:
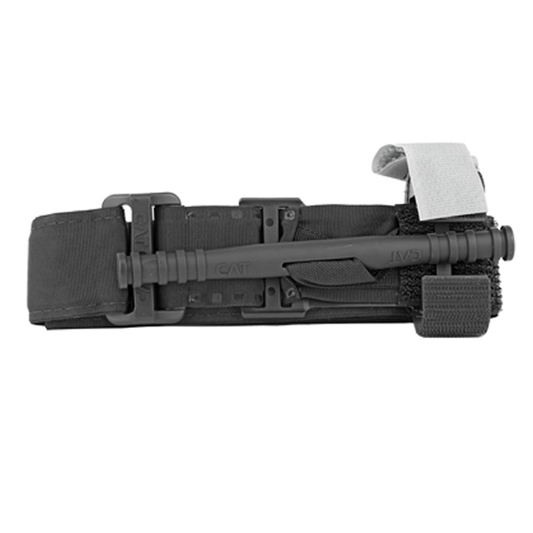
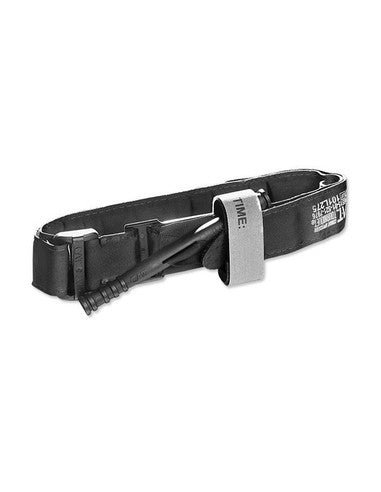
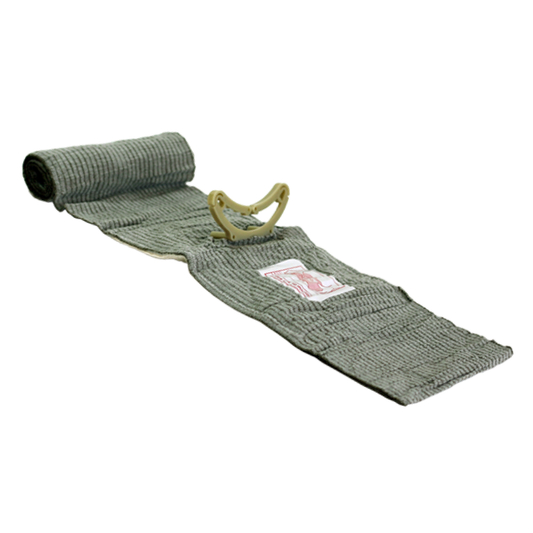
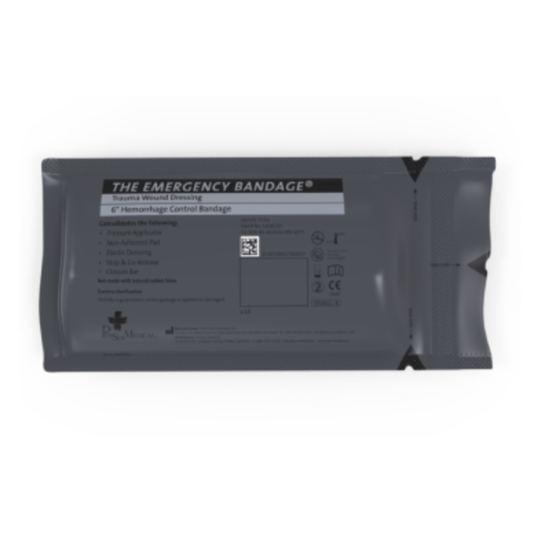
- Control bleeding: If the fracture is open, stop the bleeding first using a pressure dressing or tourniquet. Information on this is provided in the guide on the Israeli emergency bandage.
- Check circulation: Evaluate pulse, finger/toe color, and sensation distal to the injury site.
- Prepare the splint: Mold the splint according to the uninjured limb to avoid causing pain to the injured one.
- Secure: Wrap the splint firmly with a bandage without leaving slack, but without overly constricting blood vessels. Fingers/toes must remain visible.
- Recheck: After securing, recheck sensation and color in fingers or toes. Read more about other priorities in the guide on the MARCH algorithm.
Want to learn these skills hands-on? We organize tactical medicine training – for more information contact mokymai@parakomanai.lt.
Didn't find the product you need? Write to parduotuve@parakomanai.lt – we'll be happy to help.
Sources
- European Resuscitation Council (ERC): erc.edu
- Deployed Medicine (TCCC guidelines): deployedmedicine.com
- Lithuanian Red Cross: redcross.lt
- Emergency Response Centre (Lithuania): 112.lt